Growing tomato plants from cuttings is both fun and easy and can be an excellent way to get a lot more of your favorite tomatoes for free. If you have found a tomato variety that you really like, you can use the cuttings from it to grow new plants of the same variety very easily.
In this post, I will teach you exactly how to grow tomato plants from cuttings in just 5 very easy steps that require no special tools or knowledge. I am using my own photos in this post so you can be sure that the method is tested and working.
There are several ways of growing tomatoes but the way I describe in this post is the one I have personally found to be the easiest and the one with the highest success rate.
Step 1: Identify Suckers on Your Tomato Plant
The process of growing new plants from cuttings is often referred to as propagating or cloning plants since the new plant that grows from the cutting will have the same genetics as the parent plant.
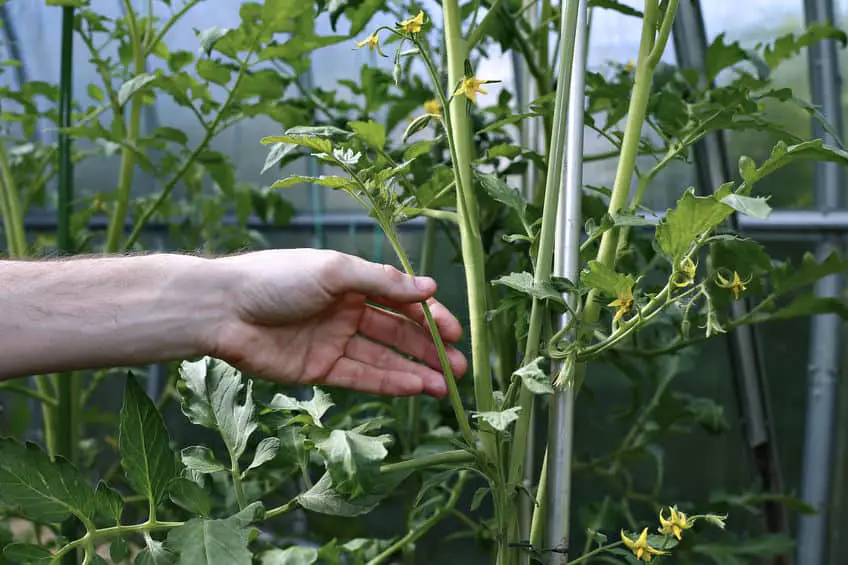
The photo above is actually not of my own plant since I forgot to take one before I removed the sucker from my plant. Oops! Luckily though, this photo illustrates what I want to teach you perfectly. All other photos in this post are my own.
The first thing you want to do when propagating tomato plants this way is to identify suckers on your tomato plant.
Suckers are the shoots that grow in the joint between the main stem and the main branches of tomato plants. If left, they will turn into new stems but since they divert energy away from growing the main stem and the fruit, gardeners usually remove the suckers from their tomato plants.
Step 2: Remove the Sucker When it is Large Enough
People often just throw the suckers away once they have been removed from the tomato plants.
Instead of just throwing the suckers away, using them to grow new tomato plants of the same variety as the plant they were cut from is an easy, cheap, and fun way to clone your favorite tomato variety and get more tasty and nutritious tomatoes for free.
For anybody interested, the tomato variety that I cloned and took photos of for this post is the Sungold cherry tomato. It is my favorite tomato variety since it is extremely sweet and juicy and the plants produce a lot of fruit for the entire season.
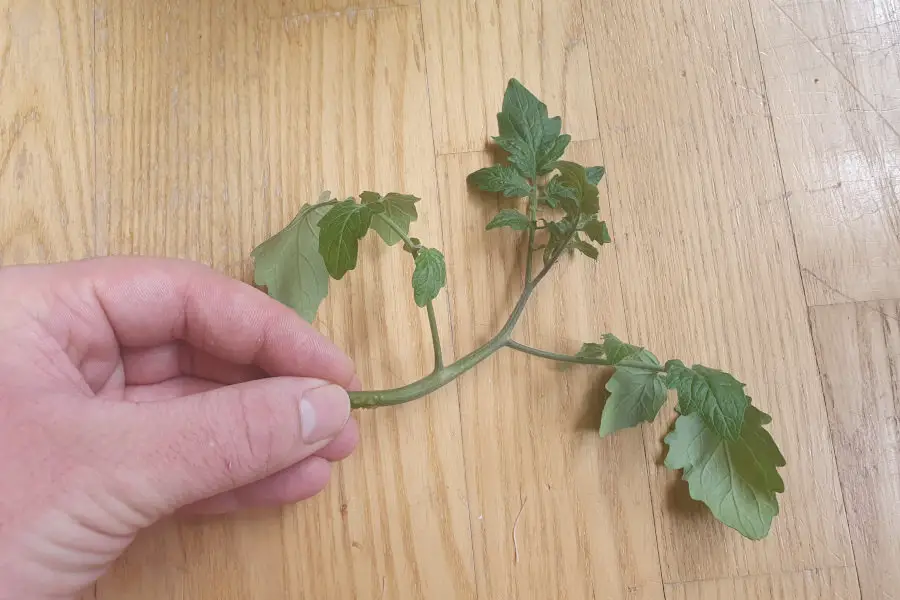
Once a sucker is about 4-8 inches (about 10-20 cm) long, you can remove it using pruning shears. This will not only allow the parent plant to focus its energy on growing the main stem and the fruit but also allow you to grow a new plant with the same genetic makeup as the original plant.
Once you have your cutting, remove any branches that are very close to the end where you made the cut.
Step 3: Place the Cutting in Water to Promote Rooting
Now that you have your cutting, it is time to make it grow some roots. Some people plant the cutting directly in the soil and while that often does work, I have found it much more reliable to root the cutting in water before planting it in soil.
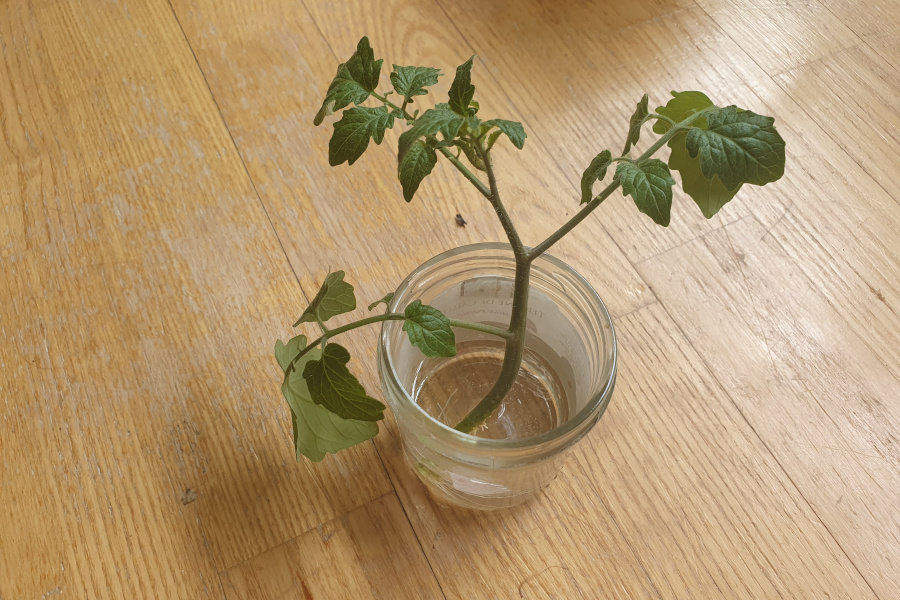
The easiest way to root a cutting from a tomato plant is to place the cutting in a clean glass or jar with water that covers about 1-2 inches (2.5-5 cm) of the stem. Keep the water fresh by replacing it every day. After about a week, several white roots will grow from the bottom of the cutting.
In this photo, you can see exactly how your cutting should look after about a week in water as described above. Notice the small, white roots at the bottom of the plant.
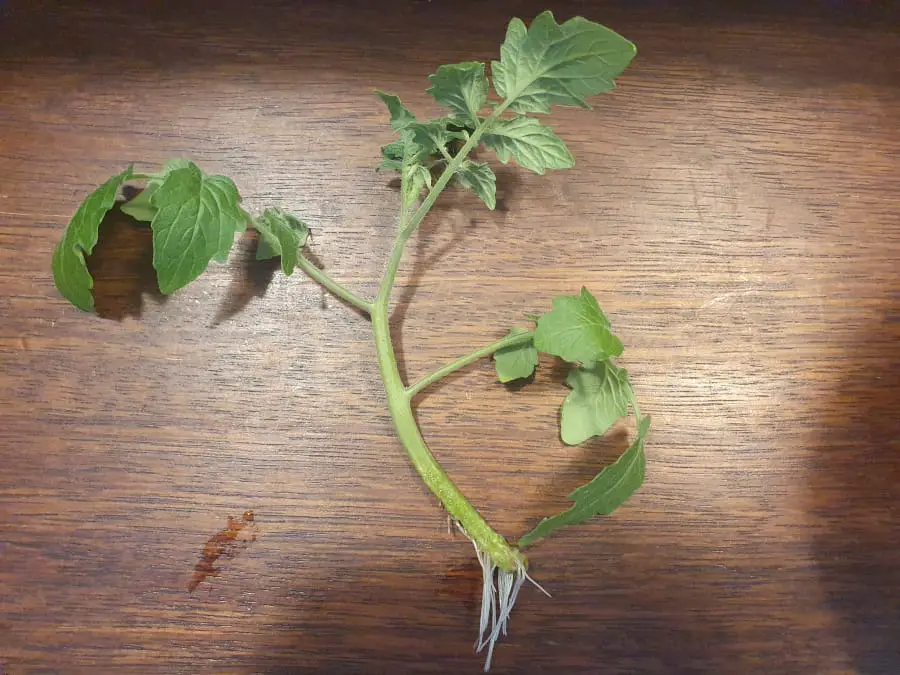
The roots will start growing from the part of the cutting that was submerged in water. Once the roots are about 1-2 inches (2.5-5 cm) long, the cutting is ready to be planted in soil.
Leaving the cutting in water for longer than a week will certainly not do any damage. It will merely make the roots grow even longer which potentially even makes the transition from water to soil even easier for the plant.
I usually just let the roots grow to about an inch or two in length since that seems to work perfectly fine and gives the plant a bit more time to grow after it has been planted in the soil.
Step 4: Plant the Rooted Cutting in Soil
Now that your tomato cutting has been rooted, it is ready to be planted in soil.
I like to use pots with good drainage for this part (and for all other potting purposes for that matter) since it is a great way of preventing overwatering which can lead to root rot and ultimately kill the plant. You can read more about overwatering tomatoes on this link.
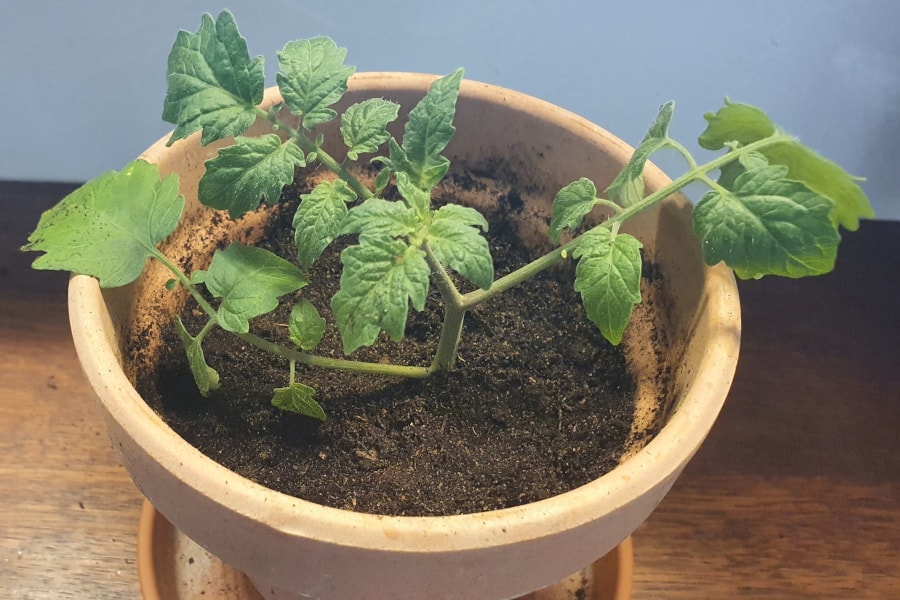
As a general rule, you should cover the bottom of the pot with at least a few inches of soil before you put your tomato cutting in there when propagating tomato plants. This gives the roots from your cutting room to grow and will ultimately lead to a larger, healthier plant.
Make sure to cover a few inches more of the plant with soil than where the roots are growing at this point. Doing so will promote even more root growth which leads to a healthier plant since it will be able to obtain nutrients from the soil more efficiently.
Step 5: Place the Tomato Plant in a Bright and Warm Spot
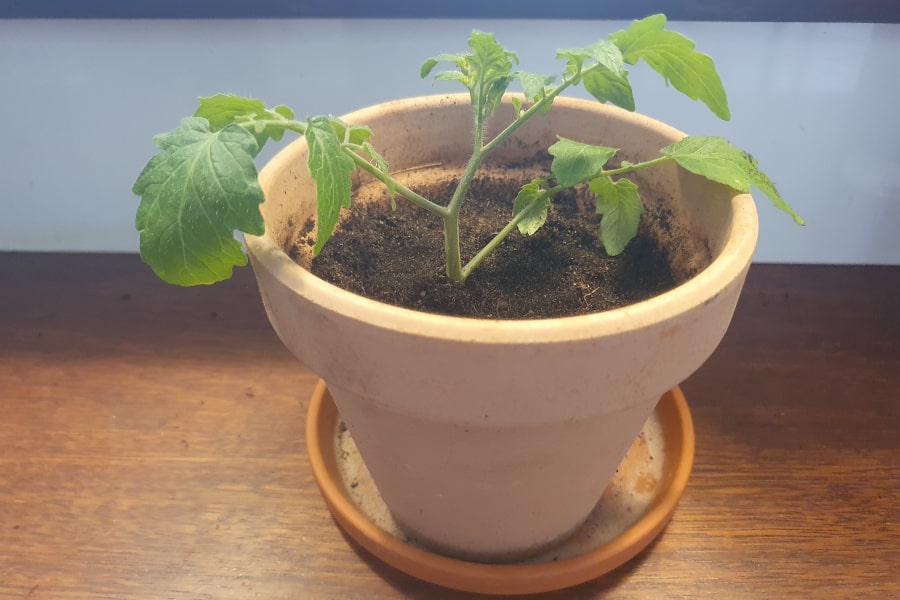
That is it! You have officially (and successfully) propagated a tomato plant and are just a month or two away from harvesting even more delicious and nutritious tomatoes.
When growing tomatoes, it is important to place them in a warm, bright spot and provide them with plenty of water without overwatering. Tomato plants should receive at least 6-8 hours of sunlight per day and the ideal time to water them is in the morning so the soil has time to dry out during the day.
If you want to plant your tomatoes directly in the soil in your garden, you can absolutely do so but I have a quick tip that I want to share with you before you do that.
Step 6 (Optional): Plant the Tomato Plant in Your Garden
You will probably be just fine if you place your tomato plant directly in the soil in your garden. There are, however, some potential challenges such as slugs associated with this. Slugs will often eat the stem and leaves of young plants but there are ways this can be avoided.
To prevent slugs from eating my tomato plants before they can grow large, I like to let my tomato plants grow to a height of about 1-2 feet (30-60 cm) in a container before planting them directly in the soil. When the plant is this tall, slugs or other pests will be much less likely to do too much damage.
Allowing tomato plants to grow a bit larger before planting them directly in soil will also make them more resistant to other potential risks such as rough weather.
That is all from me about propagating or cloning tomato plants. I hope you found it useful!
